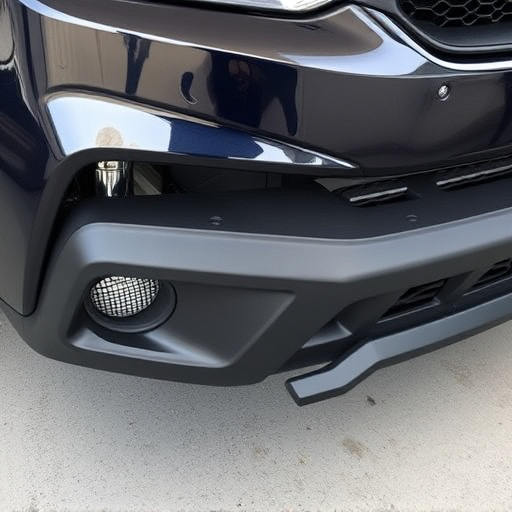


Meticulous surface preparation, including cleaning, degassing, and crack inspection, is vital for optimal tempered glass installation. Selecting appropriate thickness based on use and loads ensures safety and quality. Precise cutting and fitment are crucial for functionality and aesthetics, adhering to dimensions and guidelines for various applications, from automotive to commercial settings.
Looking to replace your tempered glass? Achieving perfect results is easier than you think. This guide offers 10 essential tips, designed for seamless integration and long-lasting durability. From preparing the surface for optimal adhesion to selecting the ideal glass thickness and ensuring precise cuts for a flawless fit, these steps will empower you to master the art of tempered glass installation.
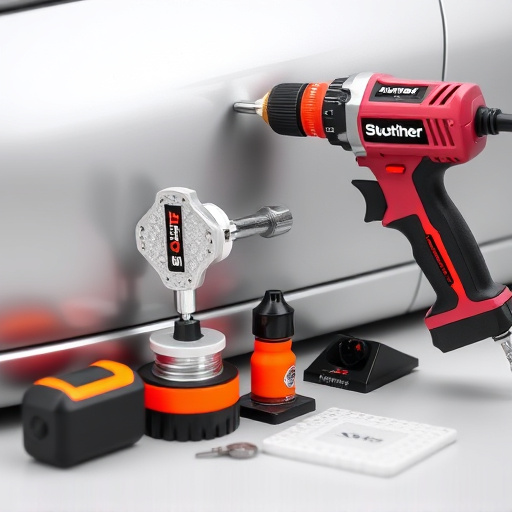
- Prepare Surface for Seamless Adhesion
- Choose the Right Glass Thickness
- Precise Cut for Perfect Fitment
Prepare Surface for Seamless Adhesion

Before proceeding with the tempered glass installation, ensuring the surface is clean and free from any debris or contaminates is paramount. This initial preparation step is crucial for achieving seamless adhesion. Starting with a thorough wash to remove dirt and grime, followed by degassing the area to eliminate any remaining moisture or chemicals, sets the stage for a successful replacement.
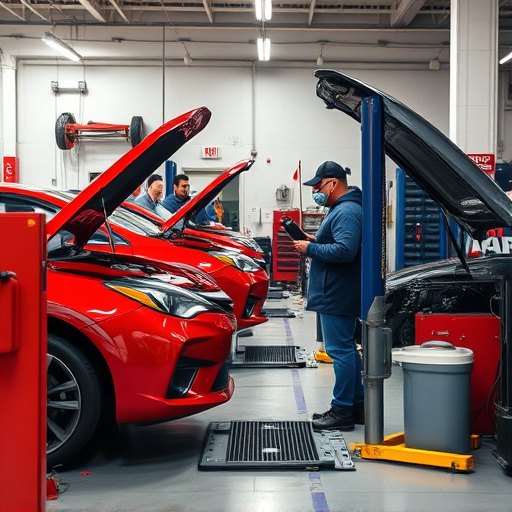
Additionally, checking for existing damage like cracks or scratches in the surrounding panel is essential. Repairs to these areas should be made before proceeding, as they can impact the overall fit and finish of the new tempered glass. Proper surface preparation not only enhances adhesion but also contributes to the longevity of the replacement glass in both residential and vehicle restoration or collision damage repair scenarios, ensuring auto body services deliver top-notch results.
Choose the Right Glass Thickness

When it comes to tempered glass installation, selecting the appropriate thickness is a critical step. The right glass thickness ensures structural integrity and safety, which are paramount for any application, whether in residential, commercial, or automotive settings. Choosing the correct thickness involves considering factors like the glass’s intended use and the load it may bear, such as foot traffic or heavy objects.
For instance, in an automotive body shop offering car repair services, using the right tempered glass thickness is essential for window replacements, ensuring both passenger safety during car damage repair and preventing shattering under impact. Similarly, in residential or commercial settings, proper thickness selection enhances durability and prevents accidents. Always consult industry standards and guidelines to make informed choices that meet safety regulations and enhance the overall quality of your tempered glass installation projects.
Precise Cut for Perfect Fitment

Achieving a perfect fitment during tempered glass installation is paramount to ensuring both functionality and aesthetics. The precision cut of the glass panel is a critical step that demands meticulous attention. It involves careful measurement, using advanced cutting tools, and adhering to strict dimensions for various applications like auto repair services or vehicle paint repair. This ensures not only a seamless transition with existing frames but also enhances structural integrity, especially in high-impact areas, thereby preventing potential risks associated with hail damage repair.
A precise cut guarantees that every curve, angle, and edge aligns perfectly, creating an immersive visual experience without any visible gaps or overlaps. It’s a fine art that combines technology and craftsmanship, ensuring the glass seamlessly integrates into the existing framework. This level of detail contributes to the overall quality of the tempered glass installation, making it a key aspect for professionals in the field to master.
When it comes to tempered glass replacement, attention to detail is key. By preparing your surface, selecting the appropriate glass thickness, and ensuring precise cuts, you set yourself up for flawless installation results. Remember, these steps are vital to achieving a professional finish that enhances both functionality and aesthetics in any project. Happy replacing!